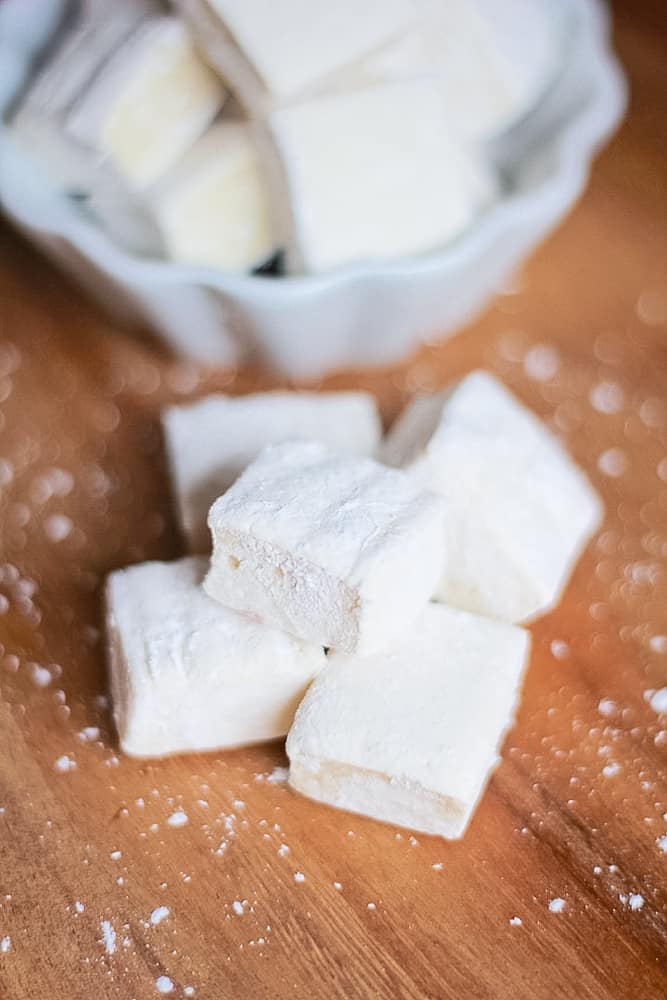
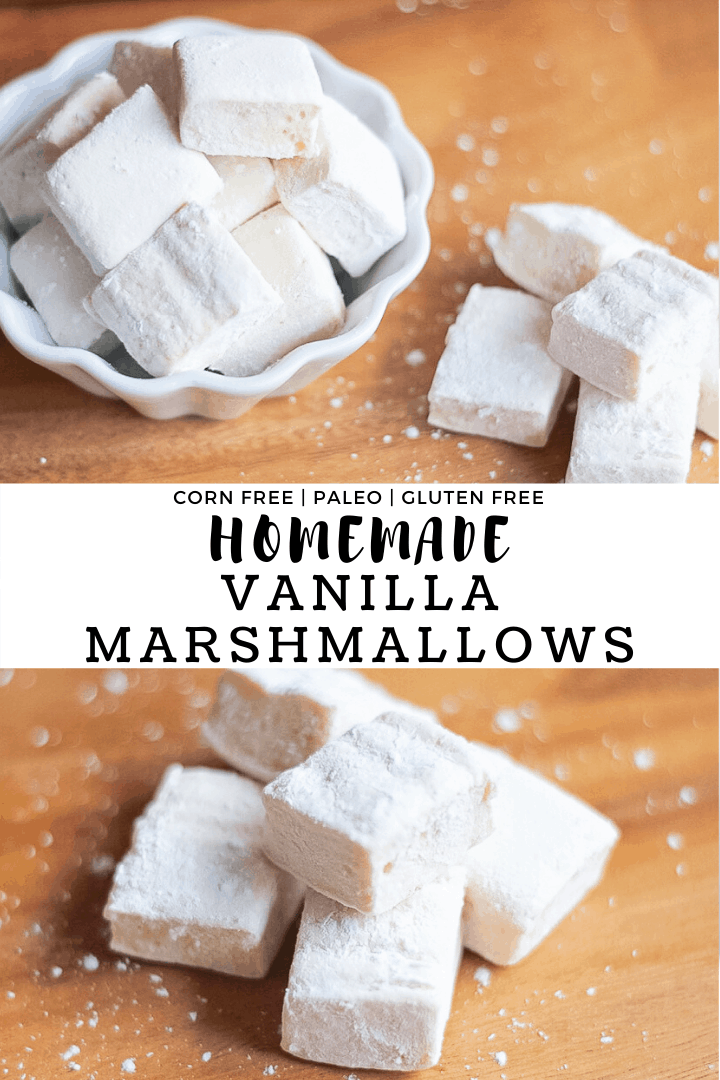
These Homemade Vanilla Paleo Marshmallows are truly easy yet impressive! They can’t be matched by the store bought varieties. These homemade ones are fluffier, pillow(ier) and just plain better. Plus they are corn free, paleo, gluten free and refined sugar free!
Originally published on May 20, 2018. Last updated on December 11, 2019.
Paleo Marshmallows
Light, soft and oh so pillowy, these Homemade Vanilla Paleo Marshmallows are unbelievably easy to make and such a treat! And these corn syrup free marshmallows last for up to two weeks (as long as you make enough, and hide some…) so they are the perfect make-ahead treat. I highly recommend pairing these paleo marshmallows with my Paleo Hot Chocolate for some sweet sipping.
This post may include affiliate links, by making a purchase through my link I may receive a small commission at no extra cost to you. Click here to read my policy.
Homemade Marshmallows Recipe
I love making the simple treats that often no one knows are truly simple and so they seem impressive! It’s a win for everyone, the maker and the eater alike. Even though these marshmallows are super easy you do need to pay close attention to the recipe and follow directions exactly because marshmallows can be finicky otherwise. Luckily I’ve made it super easy and as long as you follow the instructions you really can’t go wrong! So happy marshmallow-making!
Homemade Marshmallows Without Corn Syrup
I’m not a fan of corn syrup so I knew that I needed a way around using it for these clean paleo marshmallows. Turns out it’s super easy to do! I love both the taste and texture of these homemade marshmallows.
What Tools You Need To Make Homemade Marshmallows
It’s truly quite simple but a few tools will help get the job done best. For this marshmallow recipe you’ll need:
- Medium sauce pot
- Stand mixer
- Candy thermometer
- Measuring cups
- 9×13 inch baking pan
- Parchment paper
- Chef Knife
Tips For Making Homemade Paleo Marshmallows
- Make sure to sprinkle the gelatin evenly over the top of the water to allow it to evenly bloom.
- Keep a close eye on the water, honey and maple syrup mixture while it heats up. *This mixture is prone to boil over while it reaches temperature so this is not a time to multitask, give it your full attention to avoid ending up with a mess.
- If the mixture starts to boil over remove it from the heat for a few seconds while it lowers and then return to the heat. Repeat as needed.
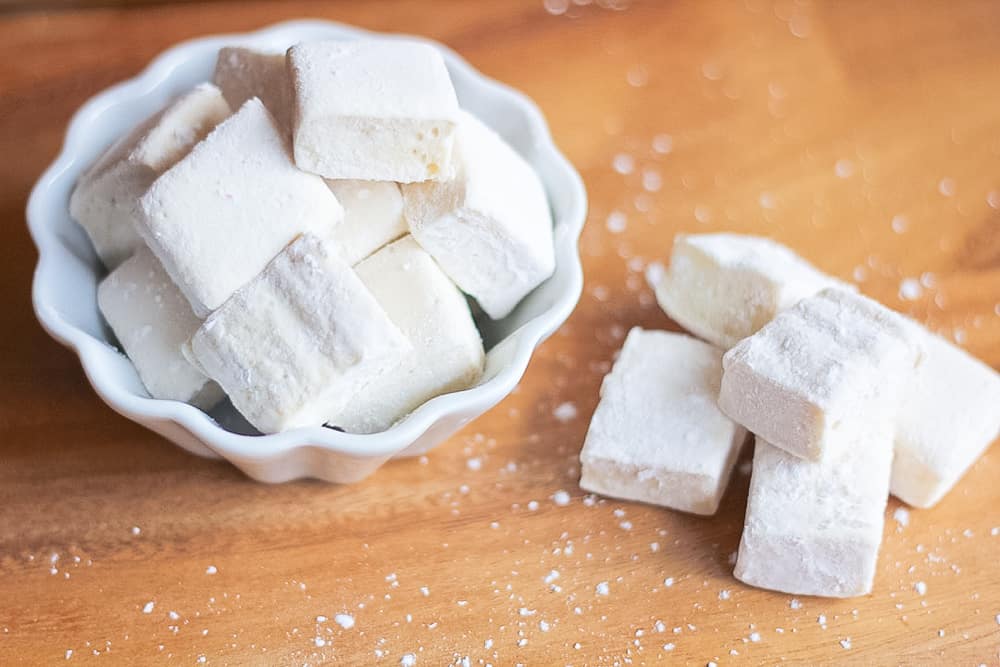
How To Store Homemade Marshmallows
After all the marshmallows are cut into the desired sizes and dusted with arrowroot powder to avoid sticking you can store them in any air tight container of your choosing. A zip lock bag will do, stasher bag, or an air tight tupperware container works as well.
Marshmallow Smores Recipe
This marshmallow recipe works great for S’mores! Since these these marshmallows are made fresh they will melt pretty quickly unless you “age” them. To do so simply follow the recipe to make your vanilla marshmallows. Cut your marshmallows into the size you want for roasting, I usually keep mine pretty big. Roughly an inch and a half to two inches across. Toss them in arrowroot as the recipe says and then lay your marshmallows out uncovered on a baking sheet or dish that allows for them to be spaced and let them sit for 3 days. This will allow them to dry out a bit and be less pillowy and more similar to the texture of a store bought marshmallow. Then roast as you normally would and enjoy!
Eat and Enjoy,
Nicole
More Paleo Dessert Recipes:
- Paleo Hot Cocoa
- Cassava Flour Sugar Cookies
- Chocolate Peppermint Cups
- Double Chocolate Peppermint Cookies
- Soft Gingerbread Cookies
Pin this recipe for later!
Did you enjoy this recipe?
I’d love for you to give it a star rating ★ below and leave a comment.
Don’t want to miss a thing?
Sign up here to have recipes and cooking tips sent right to your inbox!
Print
Homemade Vanilla Paleo Marshmallows
- Prep Time: 10 minutes
- Cook Time: 5 minutes
- Total Time: 15 minutes
- Yield: 4 cups 1x
- Category: Sweet Treats
- Method: Stove Top
- Cuisine: American
Description
These Homemade Vanilla Paleo Marshmallows are truly easy yet impressive! They can’t be matched by the store bought varieties. These homemade ones are fluffier, pillow(ier) and just plain better. Plus they are corn free, paleo, gluten free and refined sugar free!
Ingredients
- 1 cup water, divided in half
- 1/2 cup honey (I always recommend local if you are able for added health benefits)
- 1/2 cup pure maple syrup
- 4 Tablespoons unflavored grass-fed gelatin powder (I’ve linked my tried and true brand)
- 1 teaspoon pure vanilla extract
- 3 Tablespoons arrowroot powder for dusting
Instructions
- Line a baking sheet with parchment paper and spread 1 Tablespoon arrowroot powder evenly over the paper.
- In a stand mixer with whisk attachment or a bowl (with hand mixer), pour in a 1/2 cup water and sprinkle gelatin over top. Allow to gelatin to bloom for 10 minutes. Let it sit in the mixer until the hot syrup is to temperature and ready to add.
- In a deep saucepan pour 1/2 cup of water, honey and maple syrup and boil on high for approximately 15 minutes until a temperature of 240 degrees Fahrenheit is reached. Watch the saucepan continually as the boiling syrup may try to boil over (this will be a sticky burnt mess if it does, not that I’d know….). If this happens quickly remove the pan from the high, let the bubbles settle for a few seconds and return the pan to the heat. Cooking the syrup to temperature is the key to getting the right texture once the marshmallows have set so be patient.
- Once temperature is reached, turn on your stand mixer to low and immediately pour your hot syrup in slowly.
- Add pure vanilla extract then increase speed to medium-high (I use speed 6 on my stand mixer) and beat for a full 8 minutes until the mixture turns from brown to white and triples in volume.
- Once the marshmallow whip is ready don’t delay, it’s go time! Quickly turn the marshmallows out onto your prepared parchment paper and smooth with a spatula before it starts setting. Allow to cool at room temperature for 6 hours or more before cutting.
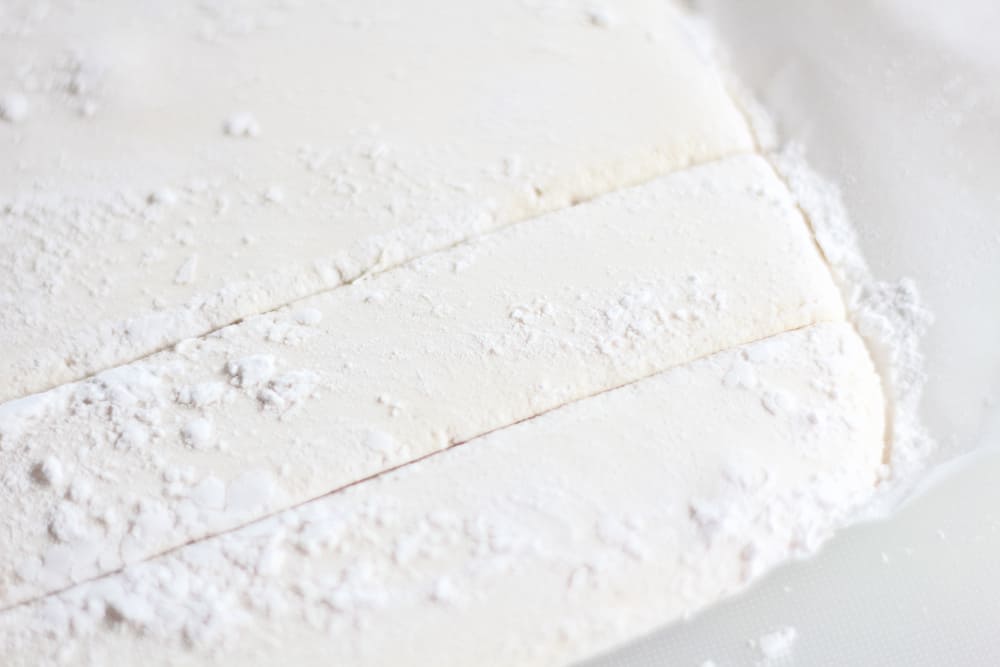
- Once cooled, rub the top of the marshmallow with 1 Tablespoon of arrowroot powder. Dip a sharp knife into the arrowroot powder and cut into desired sizes and shapes.
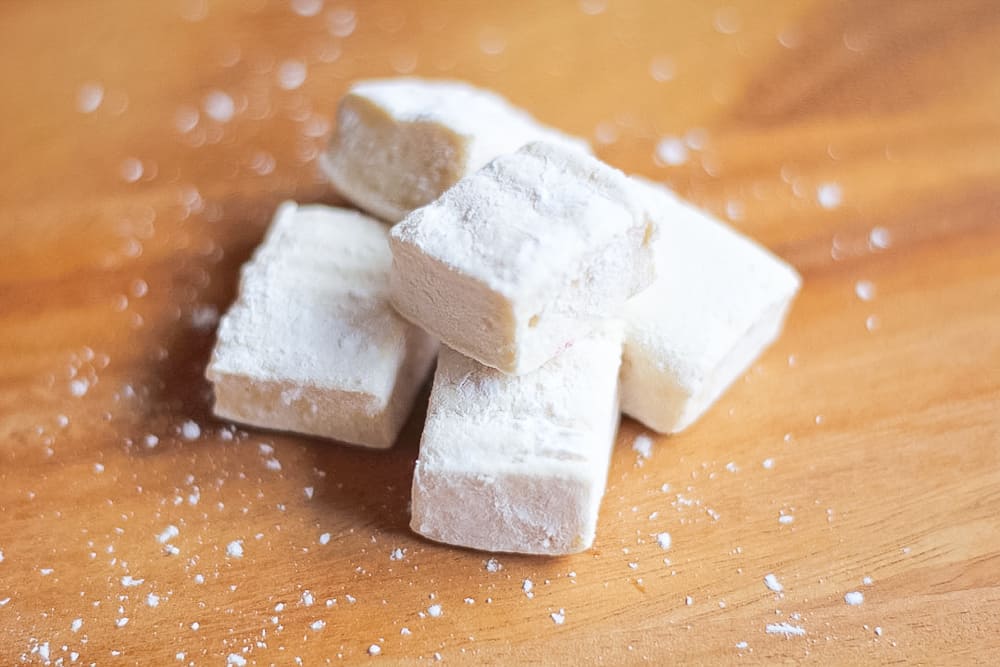
- Toss individual pieces in arrowroot powder to lightly cover all edges. Store in an airtight container for up to two weeks. Enjoy!
Keywords: paleo marshmallows, homemade marshmallows, corn syrup free marshmallows, marshmallows without corn syrup,

69
Querestyn Zehner says
If I put them in fridge to cool and set instead of room temperature would that effect how they turn out?
Ants are a serious issue at my house I have to sanitize my whole kitchen with essential oils before I start anything or they try to get in my food as I’m making it! Let alone let something sweet sit out for 6 hrs lol
Nicole says
I’m not sure how putting the marshmallows straight in the fridge would work. I have not tried it. If you could let them sit out and cool for as long as possible and then seal and cover them with plastic wrap at room temperature I think that would give you more reliable results. If you try either way, please let us know how it worked for you!
★★★★★
Alison Charbonneau says
Oh my gosh!!!!! I made these tonight and I can’t get over how soft and fluffy they became. They’re setting now, but it currently tastes like fluff (an east coast marshmallow spread that you use with peanut butter). What an amazing recipe and PERFECT instructions. Thank you Nicole!
★★★★★
Nicole says
Hi Allison! I’m so glad you enjoyed the recipe! We enjoy them on repeat during the holiday season…. and most of the rest of the year too!
★★★★★
Laura Kleban says
My first attempt was mostly a success! I will definitely make these again, as the texture was even better than the marshmallows I remember fondly from before my Paleo days. I will make sure to set up my pans in advance, the yield was more that I expected. I used a hand mixer, which worked well, but it was a solid 8-10 minutes of blending until the mix looked right. It poured very well, but set very quickly, so I will watch out for that the next time too! I will be serving this marshmallow on a Paleo Mug cake using the marshmallow as filling, the hubby is going to cry…
Thanks for the great recipe and instructions.
★★★★★
Nicole says
Hi Laura! Thank you so much for sharing your experience, I’m so glad you enjoyed this recipe!
★★★★★
Elizabeth Nowell says
Hi Nicole,
Looks terrific.
Do you think I could use agar agar instead of gelatin? (veggie here)
Elizabeth
Nicole says
Hi Elizabeth! Oh I wish I had a better answer for you. I’m sure you can, I know there are recipes out there that have used it but I haven’t tested it out to see if it would actually work with this recipe as a straight across substitution. I see other vegan marshmallow recipes use cornstarch to aid in thickening along with agar agar, so you could either try it and risk a failed batch or use a specifically formulated vegan recipe. Good luck! I wish I could be more help!
★★★★★