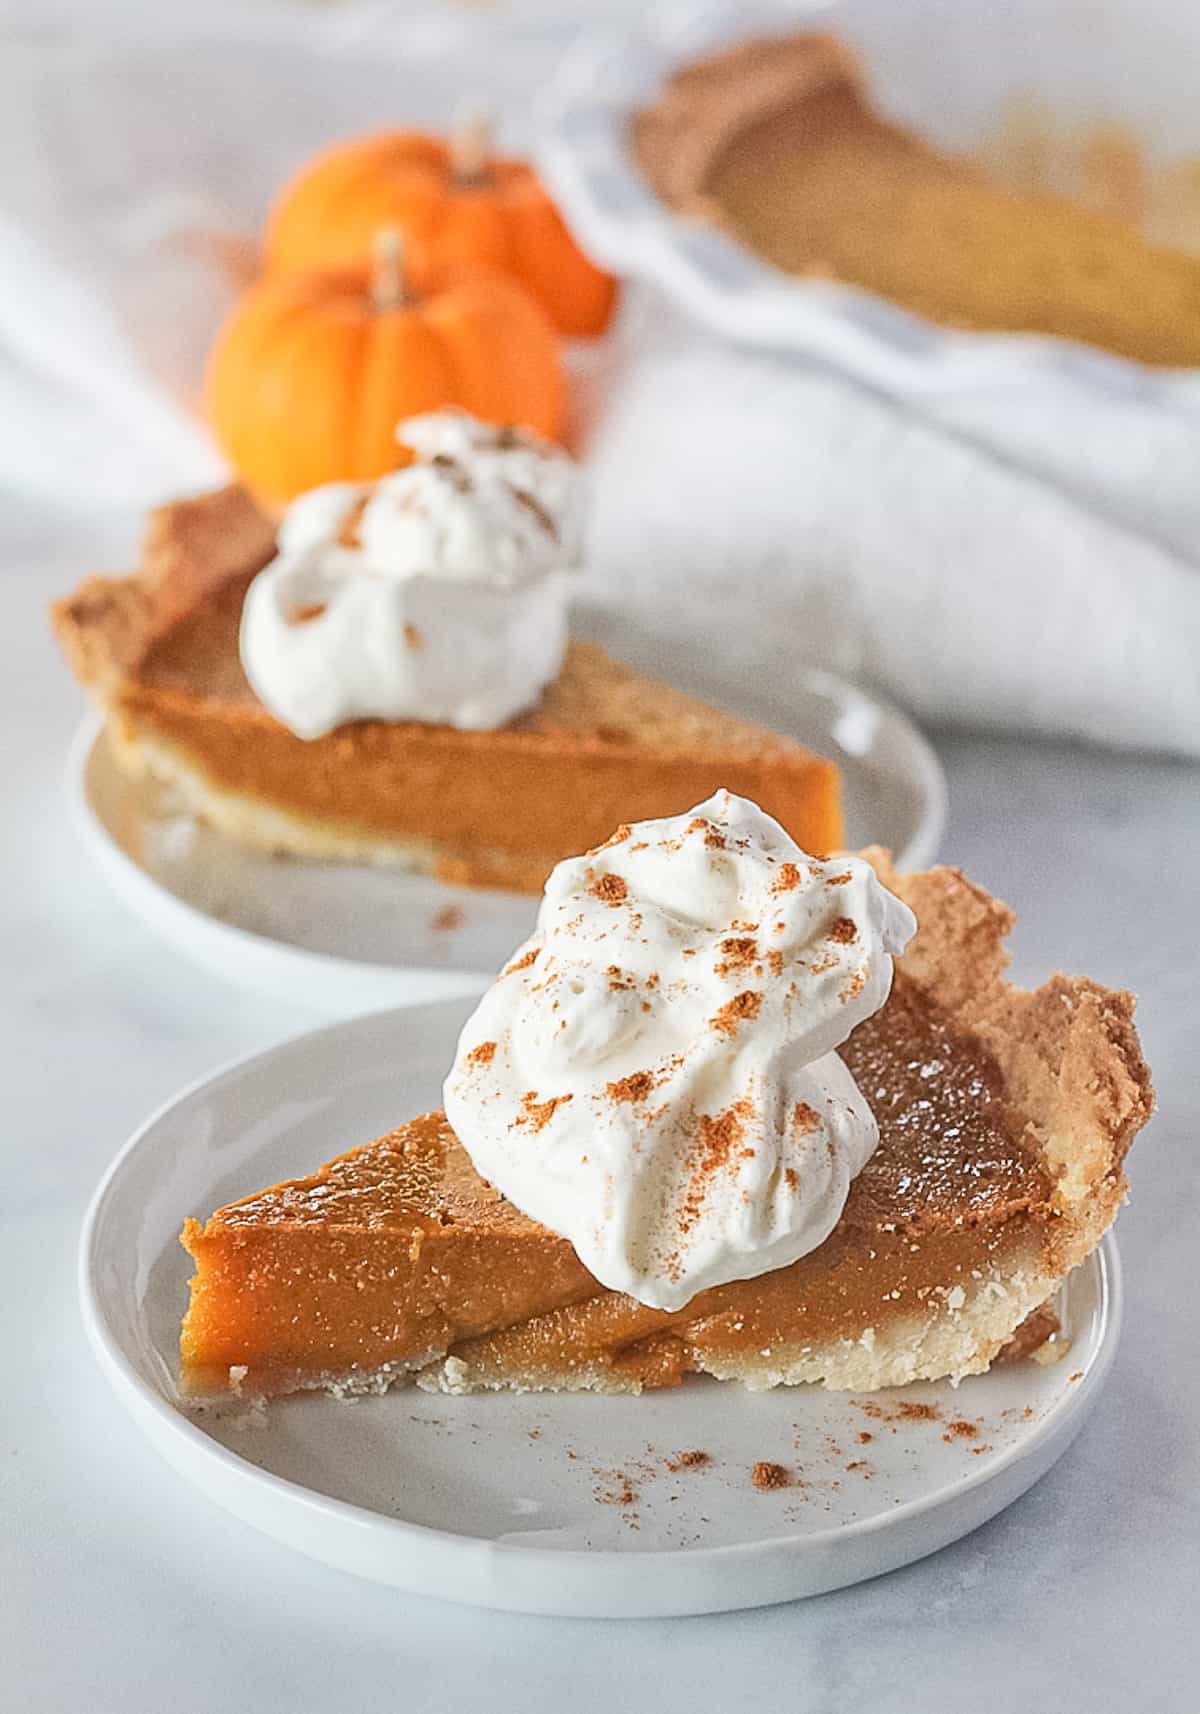
This from scratch Pumpkin Pie without evaporated milk is so rich and creamy! The filling is made in the blender for a quick and easy dessert the whole family will love.
Originally published on November 20, 2018. Last updated on November 18, 2021.
This post may include affiliate links, by making a purchase through my link(s) I may receive a small commission at no extra cost to you. Click here to read my policy.
Ingredients for Blender Pumpkin Pie Filling
- pumpkin puree (not pumpkin pie filling)
- unsweetened full fat canned coconut milk
- maple syrup
- cornstarch
- vanilla extract
- ground cinnamon
- ground ginger
- ground nutmeg
- ground cloves
- sea salt
- fresh lemon juice
How to Make Pumpkin Pie without Evaporated Milk
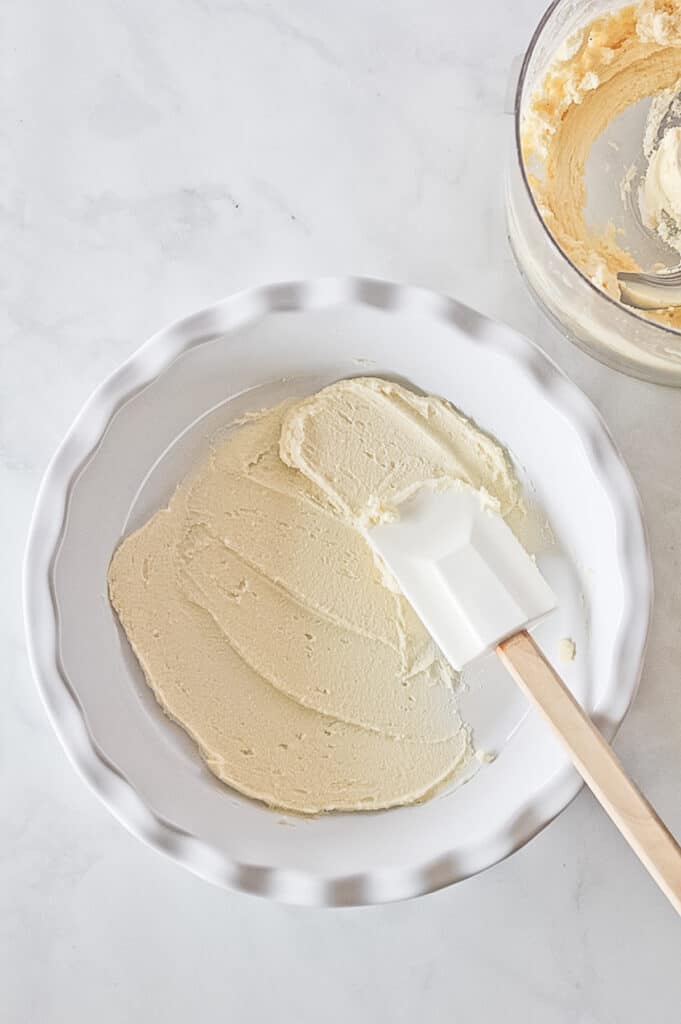
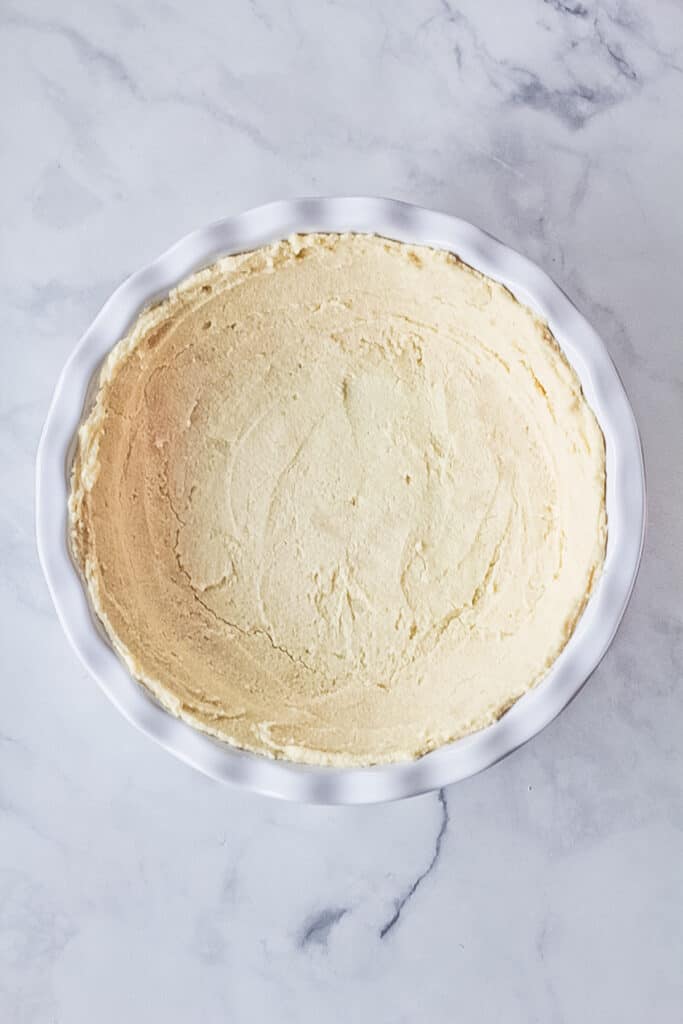
The hardest part of pie-making is usually making the crust, not so with this recipe! This pie crust tastes JUST like the classic but requires no rolling! Instead you spread it with a rubber spatula into your pie plate and par bake without any need for weights.
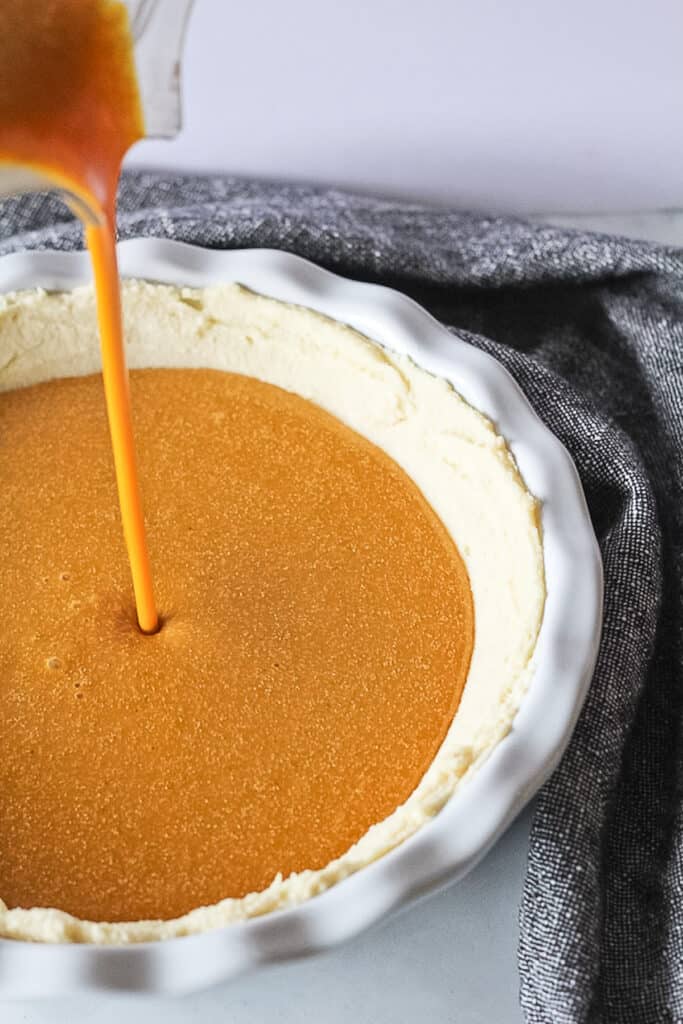
The wonderful pumpkin pie filling requires no evaporated milk and is blended right in your blender and then poured into the par baked gluten free pie crust. To make the filling, add all ingredients in a blender, blend until smooth and pour into your pre-baked crust before baking for 65-70 minutes. Allow this pie to completely cool on the counter before placing in the refrigerator for 4-6 hours, preferably overnight. Then slice, eat and enjoy! It’s so, so good! You can follow the step by step process pictures below.

The Best Pumpkin Pie with no Evaporated Milk
I love this recipe so much because it’s versatile to so many diets and therefore makes it perfect to take to any gathering since it will suit so many dietary needs! This easy from scratch Pumpkin Pie uses no evaporated milk which makes it dairy free, vegan and paleo!
The Perfect Paleo Pie Crust
It’s no secret that I love this pie crust! I wanted to make a Paleo Pumpkin Pie with a gluten free and grain free crust to suit all our families needs and this is by far the best one I’ve ever had! And it’s so very easy to make. I know you’ll love this easy no-roll pie crust!
Tips & Substitutions For Making Vegan Pumpkin Pie
- Pie Crust – I absolutely LOVE this crust but you can certainly substitute a pre-made par baked crust if you like.
- Coconut milk – I’m really picky with my coconut milk because I don’t want a strong coconut taste and I want a good thickness to the coconut milk. This is my tried and true standby.
- Corn starch – I’ve tried using tapioca and arrowroot starch but the consistency just isn’t the same. You could substitute with one of them but I like the results best with corn starch.
- Bubbles – After pouring your filling into the pie crust you will likely see bubbles in the filling from the blending process. While some bubbles are inevitable, try to remove as many as you can by popping them with a toothpick or fork.
Can You Make This Pie Ahead Of Time
Yes! I highly recommend planning to make this Vegan Pumpkin Pie the day before so it has plenty of time to set up in the refrigerator. That also leaves much less for you to do on the day of!
More Pumpkin Recipes:
- Pumpkin Breakfast Cookies
- Paleo Pumpkin Bars with Maple Walnut Frosting
- Flourless Chocolate Chip Pumpkin Muffins
- Pumpkin Baked Oatmeal
Pin this recipe for later!

Did you enjoy this recipe?
I’d love for you to give it a star rating ★ below and leave a comment.
Follow me on Instagram, Facebook and Pinterest for more great recipes!
Print
Pumpkin Pie Without Evaporated Milk
- Prep Time: 15 minutes
- Cook Time: 80 minutes
- Total Time: 1 hour 35 minutes
- Yield: 8 servings = 1 Pie 1x
- Category: Sweet Treats
- Method: Bake
- Cuisine: American
Description
This from scratch Pumpkin Pie without evaporated milk is so rich and creamy! The filling is made in the blender for a quick and easy dessert the whole family will love.
Ingredients
The Crust:
- 1 cup arrowroot powder
- 1/4 cup coconut flour
- 1/2 cup palm shortening
- 2 Tablespoons non-dairy butter (such as Miyoko’s)
- 2 Tablespoons very cold water
- 1 Tablespoon pure maple syrup
- 1/4 teaspoon unrefined sea salt
The Filling:
- 1 can (15 ounces) Pumpkin Puree (not pumpkin pie filling)
- 1/2 cup unsweetened full fat canned coconut milk, mix the water and fat thoroughly before measuring
- 1/2 cup pure maple syrup
- 1/4 cup organic non-GMO cornstarch (I recommend using cornstarch however for a paleo alternative arrowroot powder can be used)
- 1 teaspoon pure vanilla extract
- 1 teaspoon ground cinnamon
- 1/2 teaspoon ground ginger
- 1/4 teaspoon ground nutmeg
- 1/4 teaspoon ground cloves
- 1/2 teaspoon unrefined sea salt
- 1/2 teaspoon fresh lemon juice
Instructions
The Crust:
- Preheat oven to 350 degrees F.
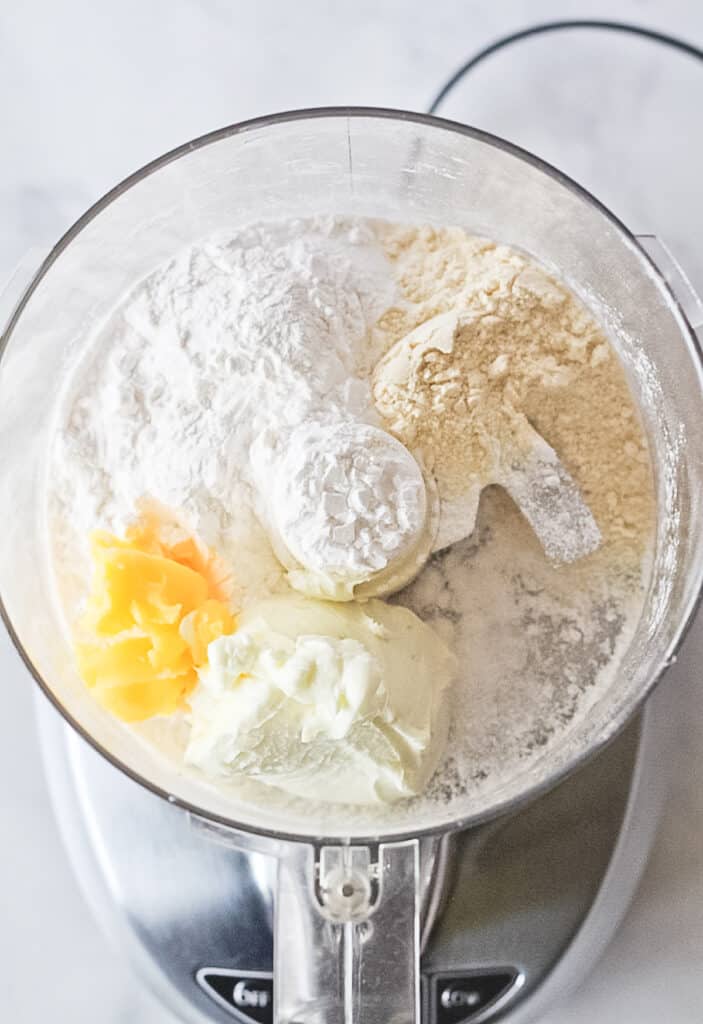
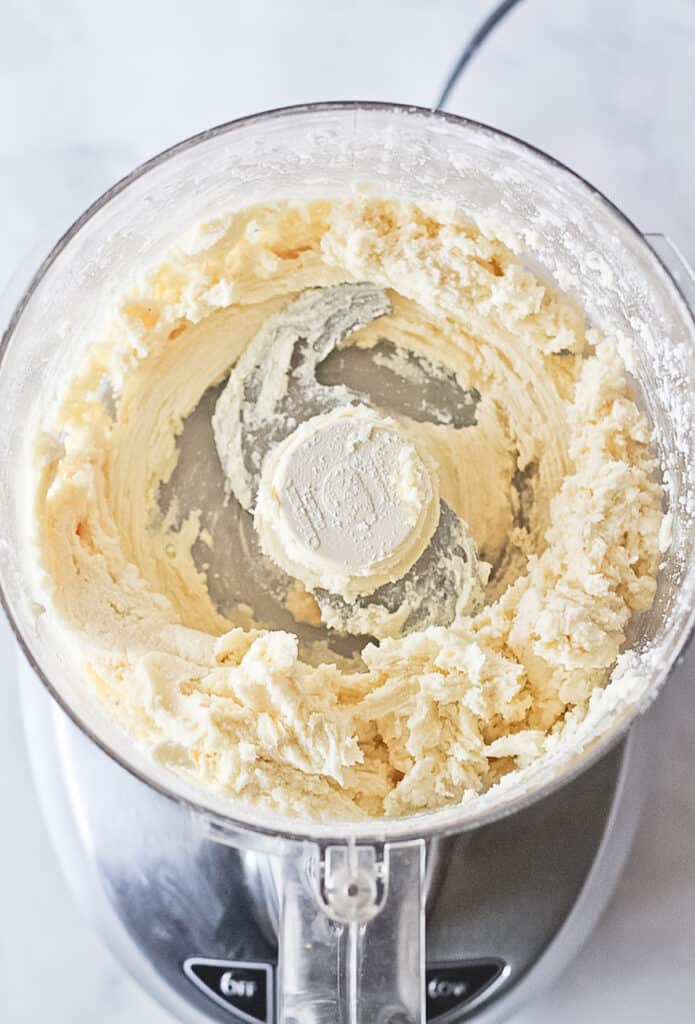
- In a food processor, add arrowroot powder, coconut flour, palm shortening, non-dairy butter and salt.
- Pulse a few times while drizzling in the cold water and maple syrup. Continue pulsing until a thin but well mixed dough forms. (The dough will be very sticky, this is normal.)
- Using a rubber spatula spread the dough (no rolling needed) into a 9-inch pie dish on both the bottom and sides. Evenly disperse the dough around the dish as well as you can and smooth the dough out with the rubber spatula.
- Par bake the crust by baking for 10 minutes.
- While the crust is baking begin on the filling.
- Put all filling ingredients into the blender and blend until smooth. Before pouring into the pie crust use a rubber spatula to slowly mix the filling in the blender from side to side and top to bottom, this will remove air bubbles in the filling created by the blender. (You don’t want air bubbles in your pie.) You can also tap the blender on the counter between stirs. Once you do not see any air bubbles and the pie crust has finished par baking, pour the filling into the crust.
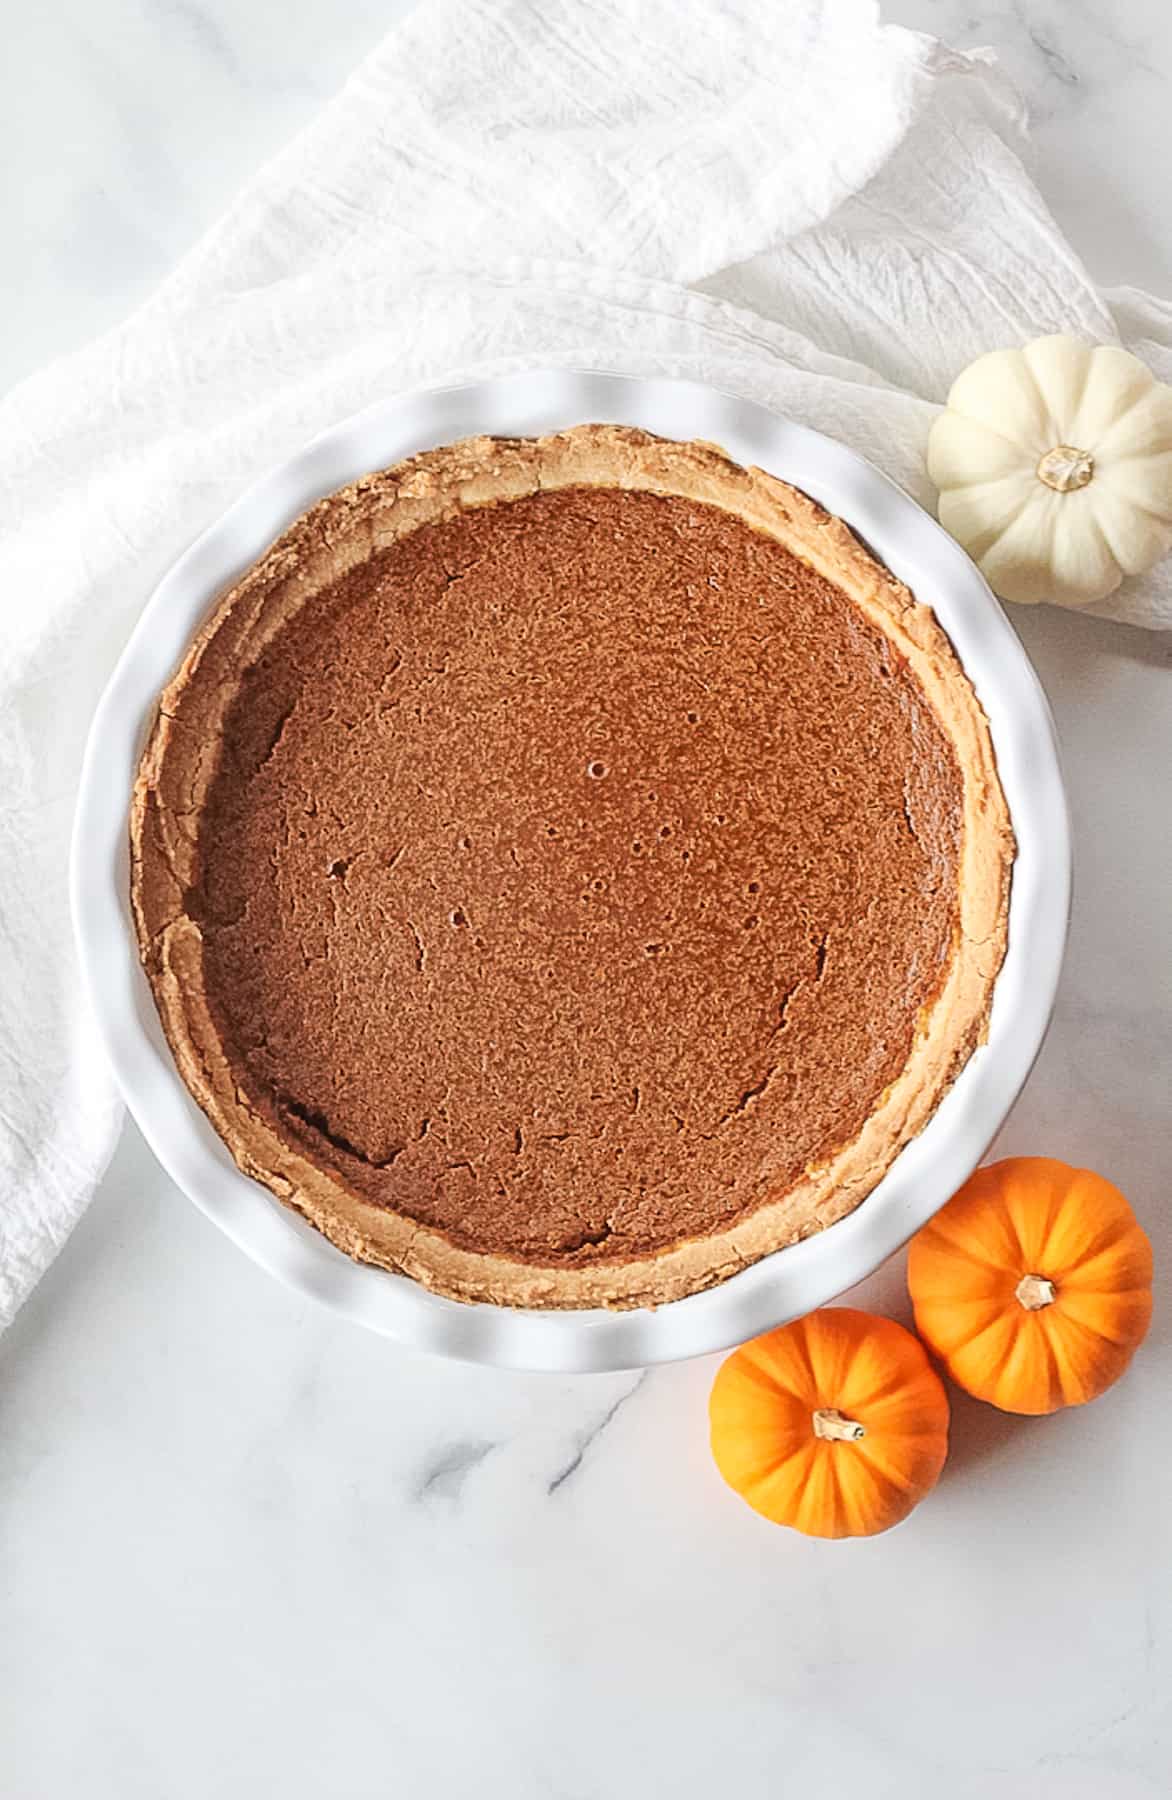
- Bake the pie for 65-70 minutes. *The center of the pie will still be slightly jiggly once baking has finished but will firm up during the cooling process.
- After baking remove the pie from the oven and allow to cool completely on the counter (on top of a wire rack, if possible to aid cooling) before moving to the refrigerator. Counter cooling will take a couple of hours.
- After the pie has cooled, transfer to the refrigerator for at least 4-6 hours but preferable overnight.
- The pie should remain in the frig until serving. (Any leftovers should also be stored in the frig.)
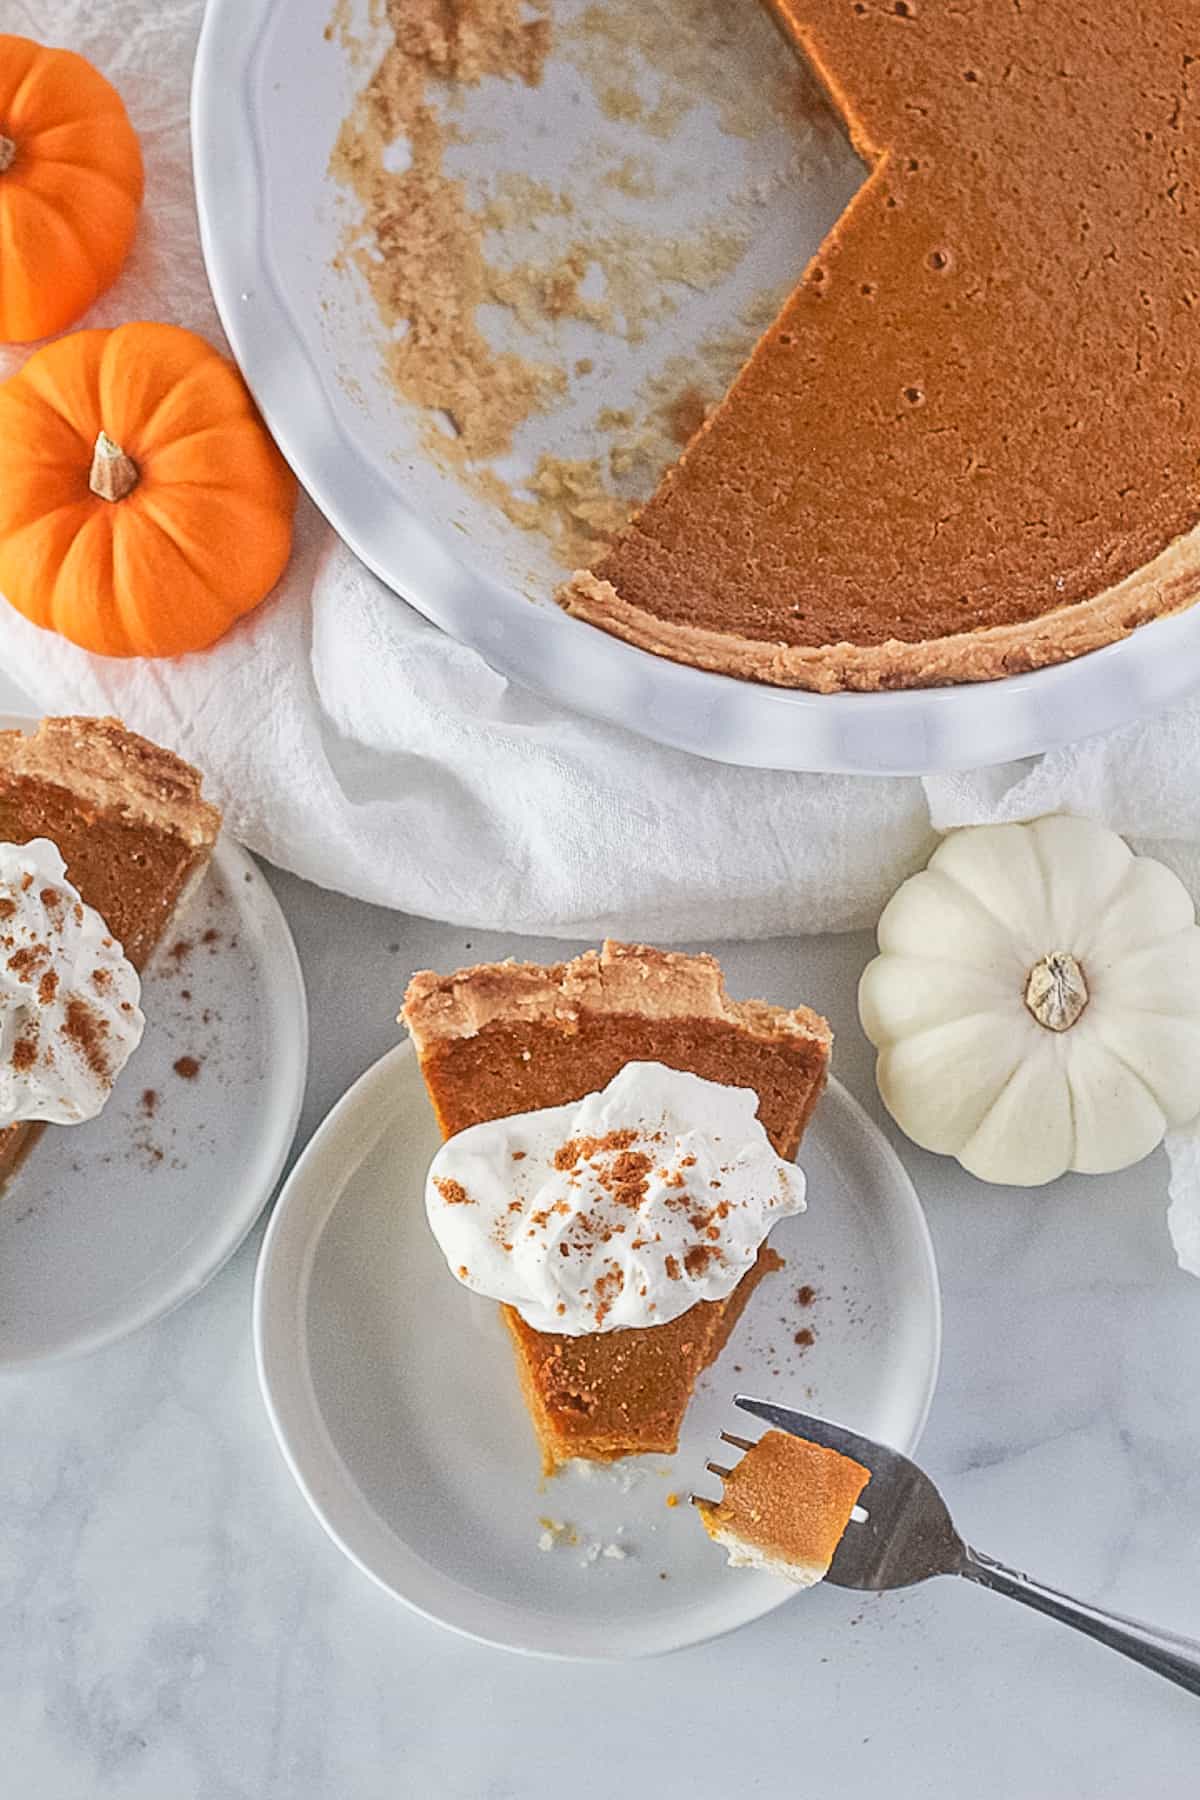
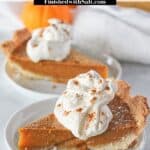
- Serve topped with coconut cream and a dash of cinnamon if you choose and enjoy!
Notes
*It is very important when baking to ensure that your oven temperature is heating to the temperature set. This can easily be verified with a small oven thermometer often found in the grocery store. If your oven temperature is off your results will greatly vary.
Keywords: pumpkin pie without evaporated milk, vegan pumpkin pie, dairy free egg free pumpkin pie,

29
Lori says
This.was.SO.good!! Turned out great. Thank you for this recipe!!
★★★★★
Nicole says
Yay! So glad you liked it! It’s a good one for sure, totally the real deal! 🙂
Natalie says
I love pumpkin pie! Looks so creamy and rich!
★★★★★
Nicole says
Thank you Natalie! I love it too! I’m SOOO pleased with how this pie is, I’ll definitely be making it a few more times this season. Please let me know if you try it out!
Bryan says
I wish I would’ve come across this a few days ago so I’d have it ready for today’s dinner! Oh well, this just gives me an excuse to eat pumpkin pie AGAIN! Thank you!
★★★★★
Nicole says
Bryan, I agree! I admit I’ve single-handedly eaten most of a pie myself this week. I call it thorough recipe “testing”…. I’ll be making another one soon since I shared today with family. 😉
Lori says
Enjoyed this on Thanksgiving! My mother in-law loved it and she’s known for her pie-making skills.
★★★★★
Nicole says
Thank you for sharing Lori! What a compliment!